Looking for some great eye brushes on a budget? Look no further!
Quick Pros:
♥ Budget friendly ^_^
♥ Do not shed
♥ Dense
♥ Soft
♥ Cruelty free
♥ Made with sustainable materials
Quick Cons:
♥ Perhaps they won't last as long as MAC or Sigma brushes? Hm....
♥ Otherwise, none!
I am super impressed with these eyeshadow brushes from EcoTools. After a tedious search for cruelty-free, non animal-hair brushes, I found these. And I'm so glad I found them.
EcoTools's eyeshadow brushes are top quality - made with full, dense bristles for packing on colour, while still being soft enough to blend things out.
The Essential Eye Set comes with 5 brushes and a cloth baggy to keep your brushes in.
Large Eye Brush: A densely packed brush, great for packing your eyeshadow onto your lids. It is quite large, so those who have smaller lids might need to use a smaller brush.
Angled Crease Brush: Another thick and large brush. This one does what it says - it really works to get colour onto your outer-V and crease.
Highlighting Brush: A soft, fluffy brush great for blending out eyeshadows
Petite Eye Shading Brush: A great brush for smaller eyelids, or, adding a highlight to your inner corners.
Smudge Brush: The size is perfect for smudging eyeshadows under the eye.
I honestly have nothing bad to say about these brushes. They don't shed any hairs and they're made with sustainable resources. I love them!
Have you tried this product out? What did you think? Leave a comment below!
Showing posts with label makeup. Show all posts
Monday, 12 August 2013
Sunday, 11 August 2013
Review: Physician's Formula Shimmer Strips in Nude Eyes
Hey there! I'm back with a review on a lovely little gem I discovered while searching for an Urban Decay Naked Palette dupe.
Quick Pros:
♥ Cheap for a palette of 9 colours (approx. $11 NZD)
♥ Cute packaging!
♥ Gorgeous neutral shades
♥ Shimmery without chunks of glitter in the formula
♥ Blends well
♥ Paraben free
♥ Cruelty free
Quick Cons:
♥ Lighter shadows aren't very pigmented
♥ Not the same buttery, silky texture as TheBalm eyeshadows
♥ All shimmer - no matte shades
The Urban Decay Naked Palette and it's sister Naked Palette 2 are some of the most sought after eyeshadow palettes in the beauty world. With their strong pigmentation and buttery texture, beauty addicts love this product.
However, I'm just a student with a budge to uphold. I can't really afford to splurge on things, especially when the Naked Palettes are sold at over $100 in New Zealand (cries).I've sought out for some good dupes for the Naked Palette itself, and I found this Physician's Formula palette.
What I love about this palette is the range of shades they offer. For nine shades, you get a selection of cool and warm shades, all which are really nice to blend and don't flake and have much fall out. The finish of these eyeshadows is really great - they aren't some tacky glittery eyeshadow nightmare that we've all seen. These give off a soft shimmery finish - if anything, metallic, without being over the top. I've found myself able to create a wide variety of looks with just this palette (anyone looking for a tutorial?).
This is a great neutral palette for anyone who wishes for some shimmery eyeshadows - seeing as there are no matte shades in this palette.
To top it off, it's paraben-free! Great for those out there who are wary of what goes into their cosmetics.
Have you tried this product out? What did you think? Leave a comment below!
Quick Pros:
♥ Cheap for a palette of 9 colours (approx. $11 NZD)
♥ Cute packaging!
♥ Gorgeous neutral shades
♥ Shimmery without chunks of glitter in the formula
♥ Blends well
♥ Paraben free
♥ Cruelty free
Quick Cons:
♥ Lighter shadows aren't very pigmented
♥ Not the same buttery, silky texture as TheBalm eyeshadows
♥ All shimmer - no matte shades
(Product swatched over white eyeliner. Hopefully you can see!)
The Urban Decay Naked Palette and it's sister Naked Palette 2 are some of the most sought after eyeshadow palettes in the beauty world. With their strong pigmentation and buttery texture, beauty addicts love this product.
However, I'm just a student with a budge to uphold. I can't really afford to splurge on things, especially when the Naked Palettes are sold at over $100 in New Zealand (cries).I've sought out for some good dupes for the Naked Palette itself, and I found this Physician's Formula palette.
What I love about this palette is the range of shades they offer. For nine shades, you get a selection of cool and warm shades, all which are really nice to blend and don't flake and have much fall out. The finish of these eyeshadows is really great - they aren't some tacky glittery eyeshadow nightmare that we've all seen. These give off a soft shimmery finish - if anything, metallic, without being over the top. I've found myself able to create a wide variety of looks with just this palette (anyone looking for a tutorial?).
This is a great neutral palette for anyone who wishes for some shimmery eyeshadows - seeing as there are no matte shades in this palette.
To top it off, it's paraben-free! Great for those out there who are wary of what goes into their cosmetics.
Have you tried this product out? What did you think? Leave a comment below!
Wednesday, 19 June 2013
Review: Designer Brands Mosaic Bronzer
Hey there folks! Since I was needing a good matte bronzer for my make up collection, I picked this up a few months ago. Now that I've really tried out this product, I'm here with a review.
Quick Pros:
♥ Inexpensive
♥ Matte with a tiny hint of shimmer
♥ Cruelty Free
♥ Does not irritate the skin
♥ Does not break me out
Quick Cons
♥ Can be a little orange on fairer skin tones
♥ Needs a couple swirls for full pigmentation
I think this is a great bronzer for any girl on a budget. It's under $20 and it works great as a staple bronzer.
I use this bronzer with a nice dense blush brush for the most colour pay off when I really want to contour. You'll need to swirl your brush around in the product a few times before you get a nice deep colour. However, for an everyday, light sun-kissed glow, one swirl and a soft dust all over the face should be fine.
I really don't have anything bad to say about this bronzer. It's matte so it looks quite natural on the skin and the colour suits most skin types. If you have very fair skin, e.g. NC15 and below, this could look a bit orange.
The product is in powder form and it does not flake or become dusty. The product is densely packed into a neat little compact.
Overall, if you're looking for a good, cheap bronzer, this is the one for you! I'm keen to try out other products by Designer Brands. They seem to offer good quality product for their price.
Have you tried this product out? What did you think? Leave a comment below!
Tuesday, 30 April 2013
Review: Australis Fresh and Flawless Powder Foundation
(Source)
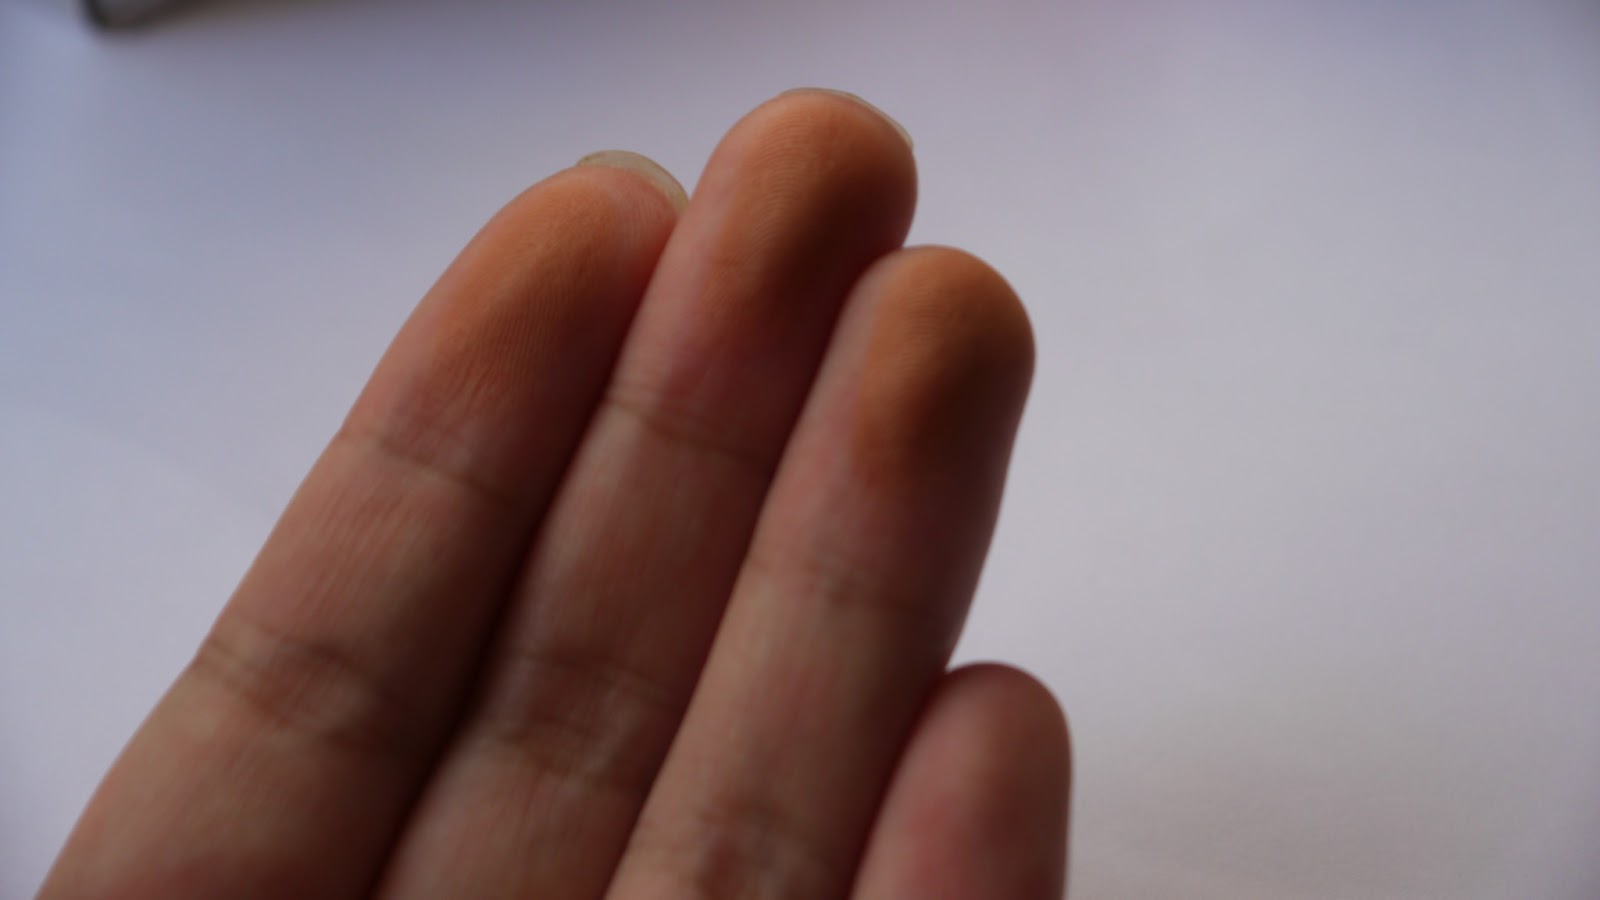
I've been dying to get my hands on this product ever since I saw gossmakeupartist's video which highlights on using powder foundation to cover large areas of imperfections. This product is a dead on dupe for MAC's Studio Fix Powder Plus Foundation. While MAC's costs around $60 in New Zealand, you can get Australis's for $20.50 instead.
Quick Pros:
♥ Inexpensive
♥ A matte face powder
♥ Controls oil
♥ Medium coverage
♥ Cruelty free
Quick Cons:
♥ Not full coverage
♥ Only available in 3 shades
♥ Not suitable for dry skin
♥ No SPF
You know you've enjoyed a product when you buy it once, use it up and buy it again. Well, that's what happened with me and this product. I personally think powder foundation is great since it's easy to apply and take with you for touch ups. This powder provides a solid medium coverage when used alone - covering minor blemishes and evening out skin tone. Combined with another foundation it can provide you with full coverage.
My shade is in Deep Natural - one of three shades. The shade selection isn't very wide, unfortunately, catering to those with fair to tanned skin tones.
The powder itself was created to control oil and it does just that. I usually get oily on my forehead on my T-Zone and I've had about 4 hours of wear before needing to touch up. However, when your face does start to get oily, it gives your skin a nice glow rather than totally matte.
It's almost winter here and when I apply this powder to my cheeks they start to feel a bit dry, therefore I wouldn't recommend this for those with dry skin. For those with oily to combination skin, this product is perfect for controlling unnecessary grease on the face! In winter I'll probably have to use a really good moisturiser with SPF so my face doesn't end up feeling tight.
All in all, this is definitely worth trying out. Especially if you live in NZ and you're strapped on cash. Don't underestimate this little gem by Australis.
Have you tried this product out? What did you think? Leave a comment below!
Monday, 8 April 2013
Tutorial: Simple Cat-Eye/Winged Eyeliner for Hooded/Almond Eyes!
Hey guys! Today I've got a tutorial for you - this one is on how to do a simple winged eyeliner for those of us who have Asian eyes or hooded eyes. Eye makeup has always been my vice because of my eye shape. It's hooded in the inner corners, but not on the outer corners. This makes knowing where to place my eyeshadows and eyeliners extremely difficult. However, upon seeing this picture of Karlie Kloss...
...I decided to recreate this dramatic look into something wearable for hooded eyes! It's somewhere between a simple winged eyeliner and a bold cat-eye. I used liquid liner for this look as it was what I had on hand, however gel eyeliner with a fine tip brush would probably be the best products for creating this look as it's long lasting and dark. Alternatively, you can use a creamy kohl pencil and then layer a matte black eyeshadow on top for staying power.
Keep reading if you want to know how to recreate this look for yourself!
...I decided to recreate this dramatic look into something wearable for hooded eyes! It's somewhere between a simple winged eyeliner and a bold cat-eye. I used liquid liner for this look as it was what I had on hand, however gel eyeliner with a fine tip brush would probably be the best products for creating this look as it's long lasting and dark. Alternatively, you can use a creamy kohl pencil and then layer a matte black eyeshadow on top for staying power.
Keep reading if you want to know how to recreate this look for yourself!
I've already applied a base and a translucent powder to my face. Use your primer on your lids if you have one!
Start by drawing the 'wings' of the eyeliner. Do this by drawing a small line that follows up from the outside corner of your bottom lash line.
Draw a line from where your crease ends to the line you drew before to create a true wing.
Keep your eyes open and draw along your crease. You can choose to draw this all the way into the inner corner or stop 3/4 of the way in.
Fill in your lid with your liquid liner/gel liner/kohl pencil.
I cleaned up the look and sharpened the edges with a q-tip dipped in make-up remover. Apply a matte black eyeshadow over the top of the eyeliner to make it dark and give staying power.
That's it! I added a highlight into my inner corners, filled in my brows, added blush, mascara and some lipstick to complete the look.
Simple, no? Please give this tutorial a try if you've got hooded lids too! Good luck!
Products used:
- K-Palette Real Lasting Eyeliner in Black
- Chi-Chi Black Eyeshadow
Let me know what you think in the comments!
Labels:
asian eyes,
eyeliner,
hooded eyes,
k-palette,
makeup,
tutorial
Subscribe to:
Posts (Atom)